Our mini construction lift
for lifting construction elements
No more heavy hauling on the construction site! No matter whether new construction or renovation - the Minilift convinces with a wide range of applications.
Take a look at our application examples!
The application fields
of our mini construction hoist at a glance

Support base
The small support foot is included in the accessories with the construction lift Flipper and is used for assembly on the scaffold.

Support base assembly
Due to the fact that the small support foot is mounted underneath at the front, the load transfer on the scaffold is guaranteed.
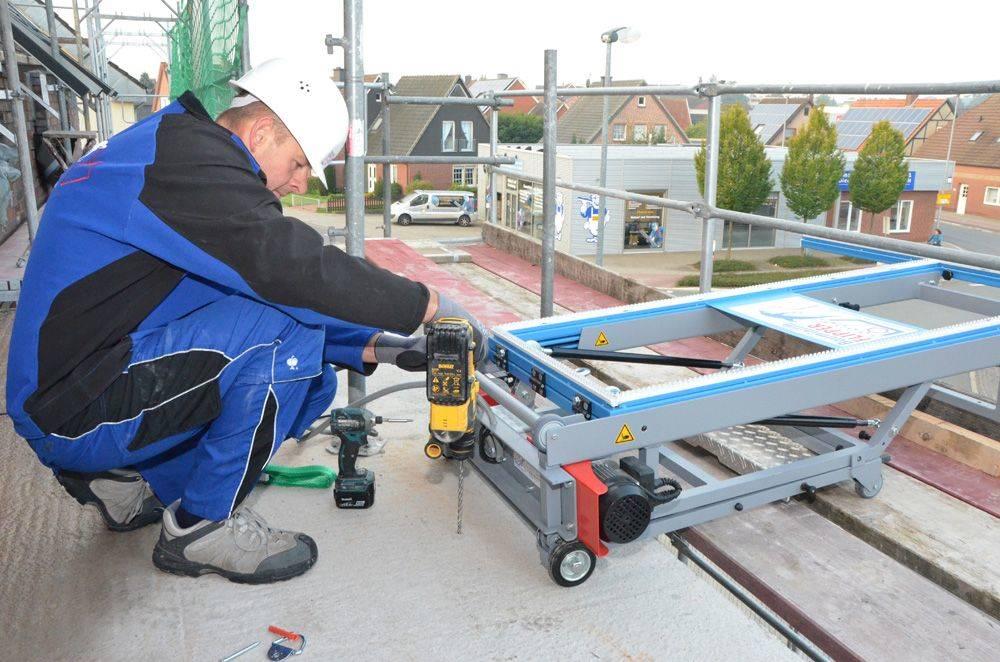
Rear side
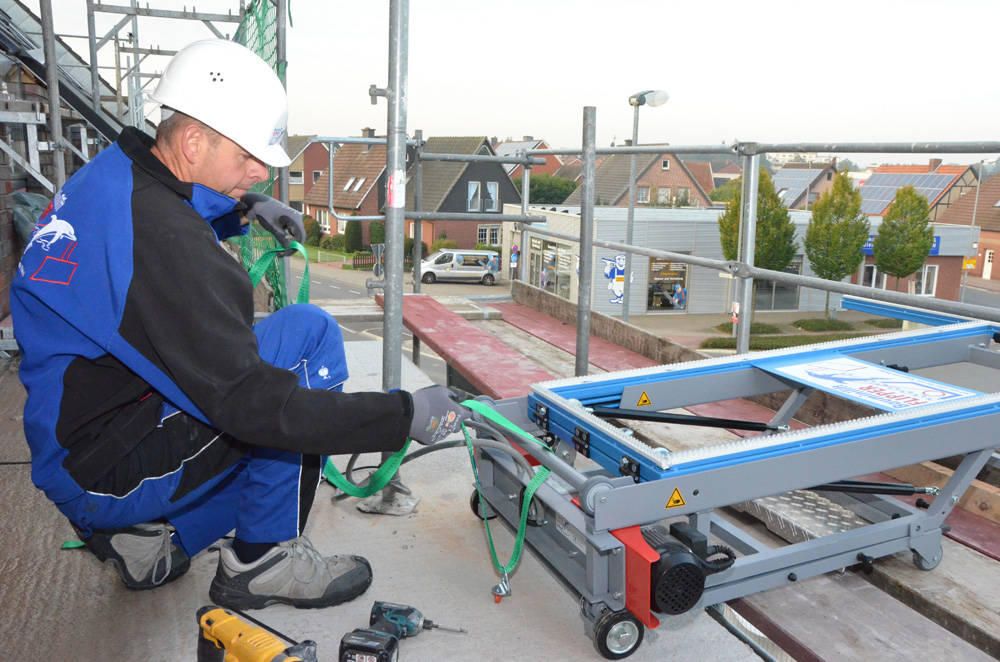
Securing the construction mini-lift on the rear side, drilling 10 mm and placing the dowels.

Use in multiple floors
The lower floors are also supplied with windows at the same time. The Minilift does not have to be repositioned for this purpose.

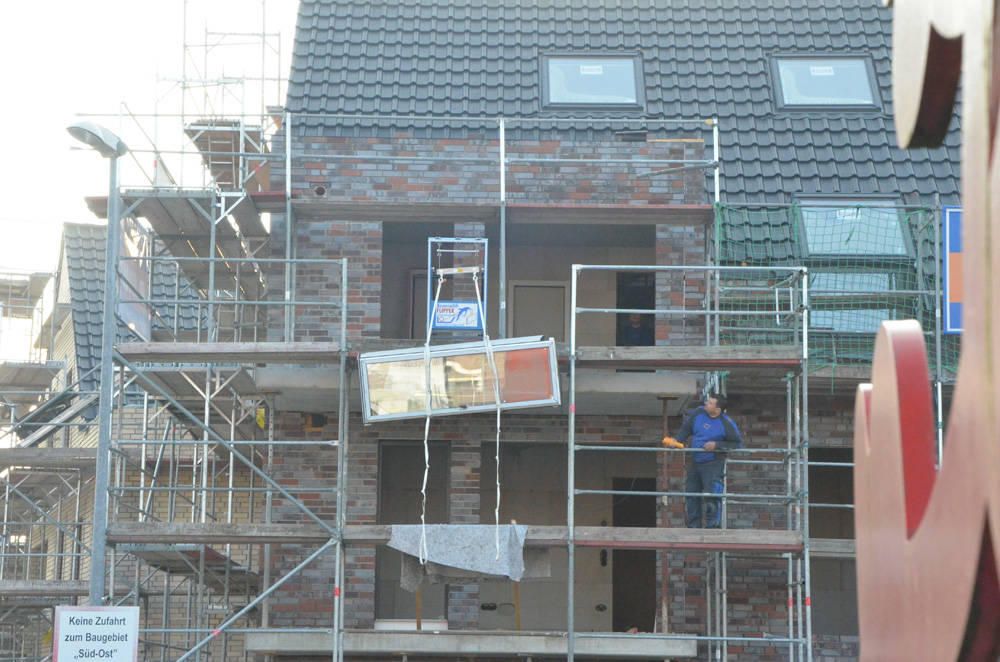
Balcony door frame is pulled over the scaffold
The balcony door frame is pulled over the framework and then laid flat. Then the straps are loosened, the rest is child's play

Special brushes
With the help of special brushes (white in the illustration), the sensitive surfaces remain undamaged.

Tension belt
The fact that the tensioning strap is attached directly to the construction support means that the Construction Minilift lies securely on the scaffold.
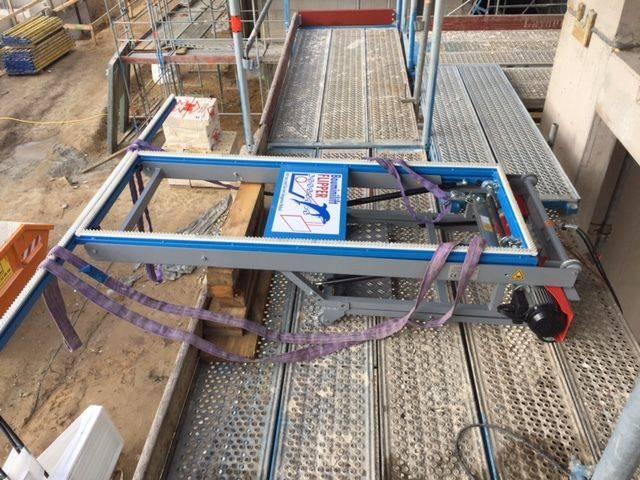
Mini crane for scaffolding use
Here, the construction hoist is simply placed on the scaffold while the rear legs are folded in. A tension belt is applied at the rear to prevent it from tipping over. To keep the load transfer as far out as possible, squared lumber is placed underneath in the front area.
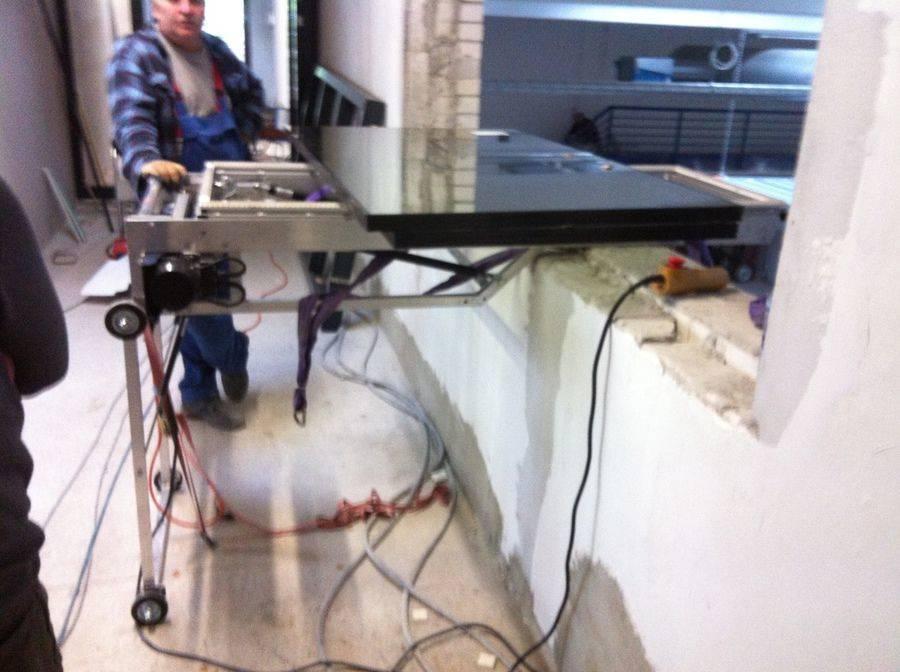
Window installation in a commercial hall
Installation of windows in a commercial hall with offices. Even though the windows here were not large, they were very many. Nevertheless, an appropriate opening for the elevator was found here as well. Here, several panes were raised at the same time, but these remained protected even in a horizontal position, thanks to cork.
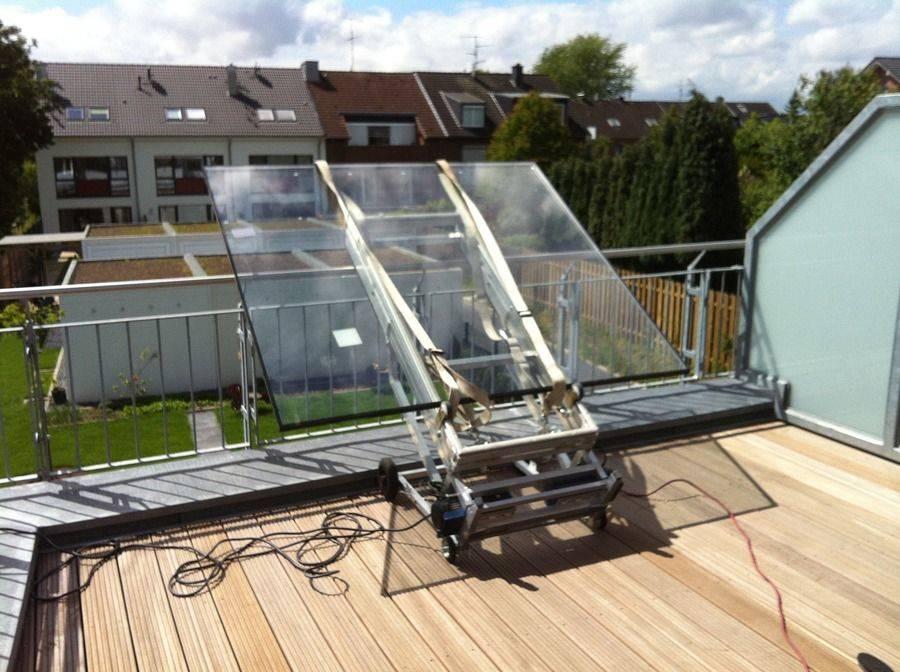
Replacement of glass panes by means of minilift
The construction elevator is also suitable for easily breakable glass. Here, for example, a lift-and-slide door was installed on the first floor during the construction phase. After 4 months, the pane had to be replaced due to a stress crack. Due to its weight of 95 kg, the new pane did not fit through the stairwell. However, thanks to mini construction hoist Flipper, the new glass pane was up and the old one down in no time. The entire process, including the assembly and disassembly of the crane, took only 20 minutes.
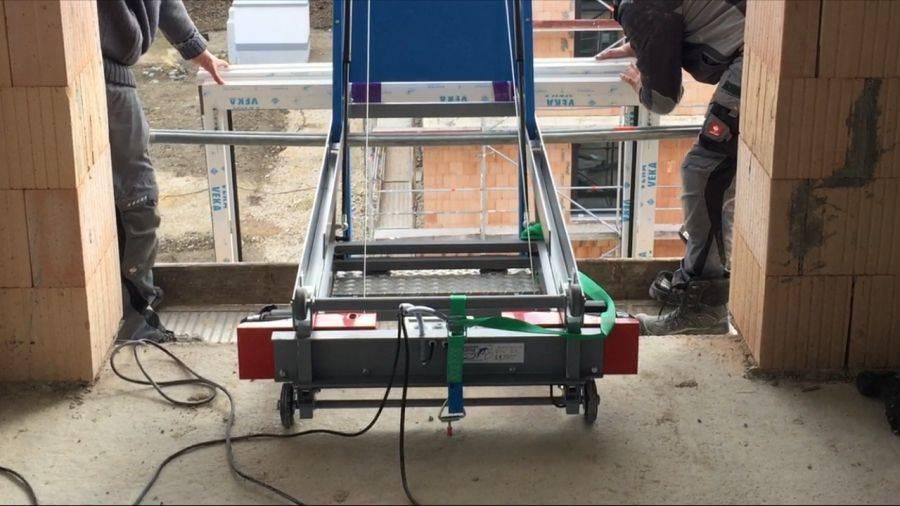
Height difference between scaffold and floor
In this case, the scaffold layer is lower than the floor. Therefore, the upper rod was taken out and inserted together with the lower one. Thus, the construction hoist was placed on two scaffold rods and a dowel hole was drilled at the rear and tied down.
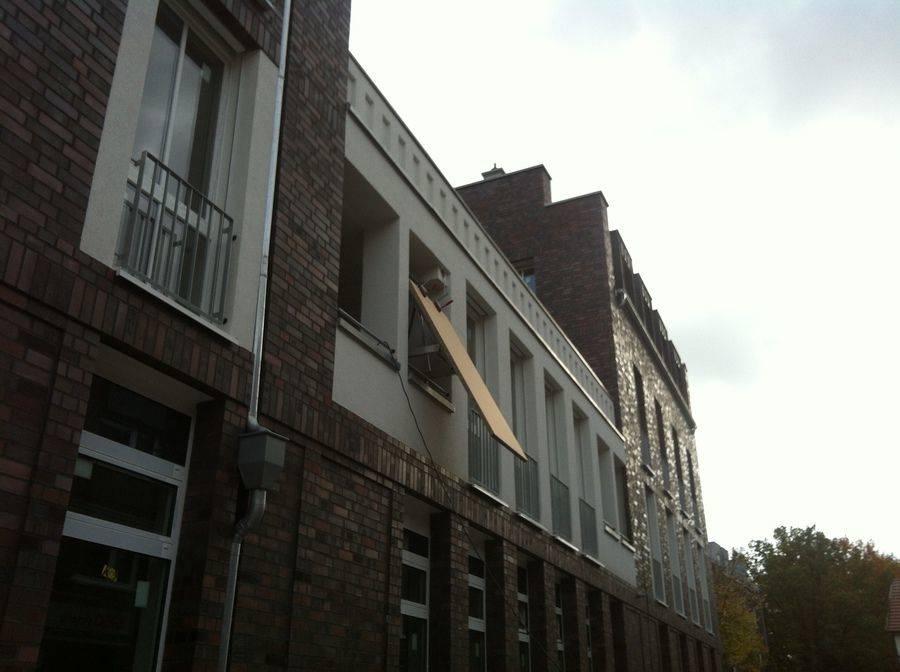
Transport interior doors to the 1st floor
Here we could park directly under the loggia and pull up the interior doors easily and in a direct way.
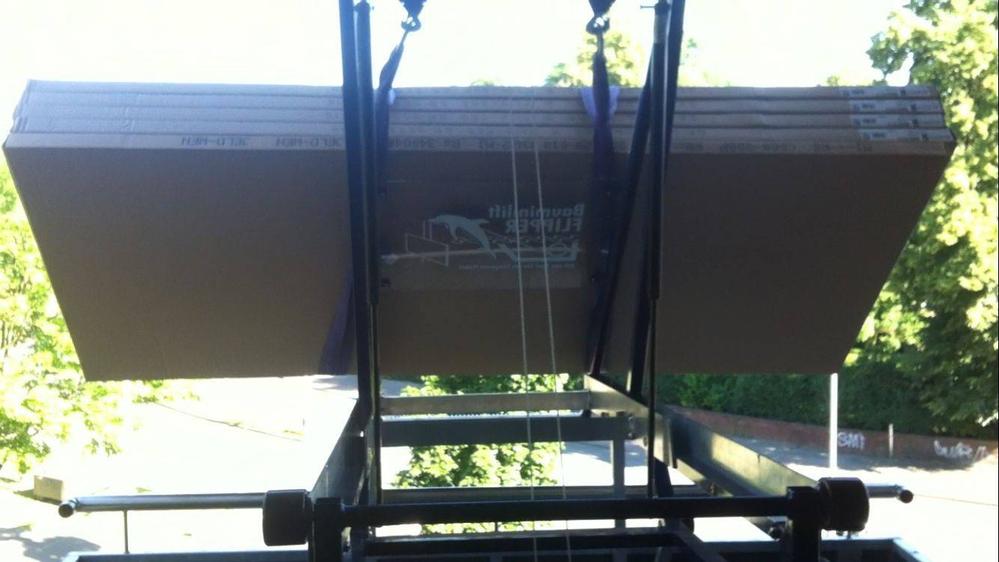
Apartment house - lifting doors with mini crane
On that day, 13 soundproof doors weighing 65 kg each and 55 tubular tension doors weighing 30 kg each were delivered.

Apartment house - after 3 hours
With one worker below and one above, all the doors could be brought to their destination intact. Here, the construction hoist raised 2 soundproof doors or 5 tubular tension doors at the same time.
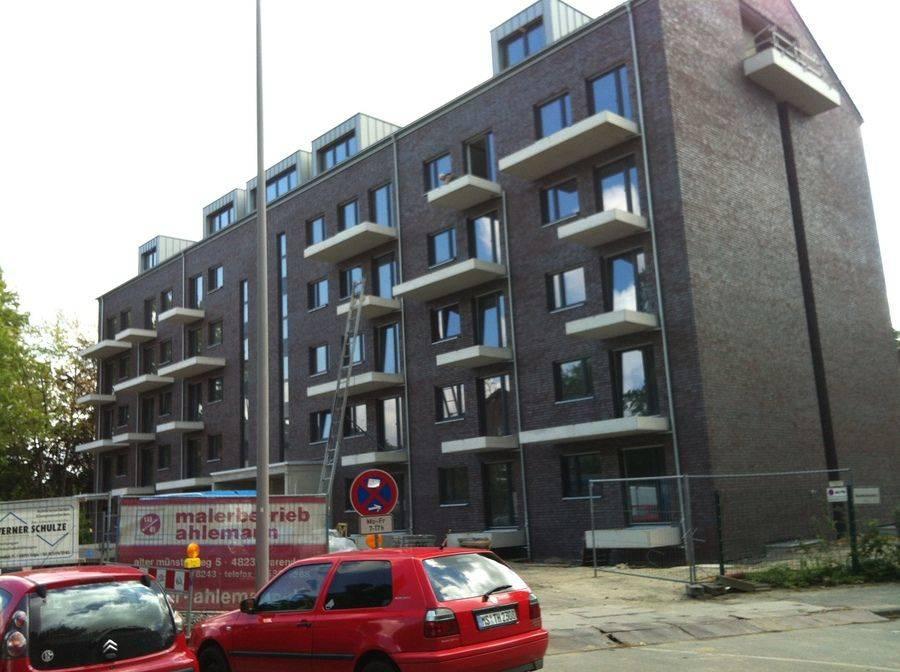
Use in apartment building
In this construction project, a total of 280 doors for 71 apartments had to be installed floor by floor. No problem with our construction hoist!
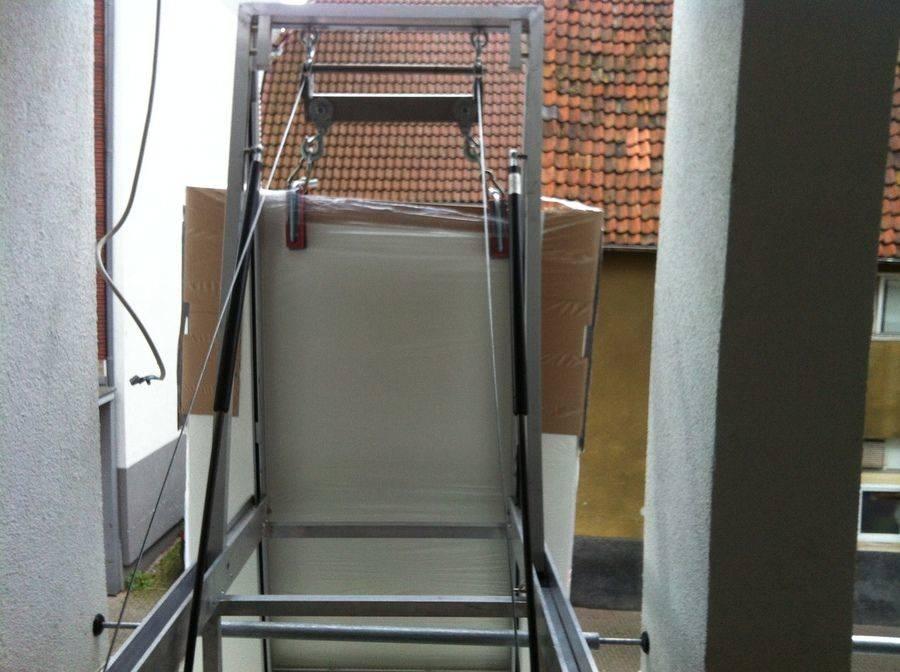
Mini crane - perfect even for narrow openings
In this case, the loggia was so narrow that the doors could only be raised on edge. Nevertheless, the use of the construction hoist saved everyone involved a 30 m walk and the staircase. With the help of the minilift, 32 tubular clamping doors and 4 fire doors, each weighing 65 kg, can be effortlessly transported to the 1st floor in just 2 hours (including assembly and disassembly of the crane).
Balcony lift Application of the Construction Lift Flipper and Mini-Flipper as Balcony Lift
Construction Lift Flippers and Mini-Flippers can also be used as balcony lifts,
the small version of the balcony lift requires just 1 meter of space to set up.
The transport and assembly can be done by one person, since our balcony lift is like a
Drying rack and can be set up in just a few simple steps, two ensure a secure hold
Ceiling props that are stretched against the ceiling on the rear side.
All pictures and videos serve only as an example from practice,
the operator is always responsible for setting up and operating the balcony lift
be sure to read and follow the operating instructions

Balcony lift mini Flipper 150 (built up)
Directly in the window with transport box for tiles and sacks, requires a minimum height of 1200 mm

Attachment without ceiling supports
If it is not possible to work with props, a counterweight must be attached to the rear, at least as much as the load itself. In the example: doors lashed tightly as a counterweight


